A Tutorial on setting up Jenkins in Kubernetes and minikube to run a CI/CD on a monorepo.
2021-01-19
Having several projects sharing a source code repository in a monolithic repository eases collaboration, large technical upgrades and eases continuous integration. Especially when combined with a trunk based development scheme, ensuring that all your projects are continuously integrated by your version control system. In this tutorial we explain how to get Jenkins running in minikube to achieve good performance in the CI/CD pipeline. The official Minikube documentation provided detailed instructions on how to install minikube and docker on your particular operating system. Once it's installed start the cluster:
$minikube start
Once everything is up and running we can check that it went well using the following steps
$ minikube status
minikube
type: Control Plane
host: Running
kubelet: Running
apiserver: Running
kubeconfig: Configured
timeToStop: Nonexistent
Now let's start a new monorepo using the popular version control system git.
$mkdir monorepo
$cd monorepo
$git init
In true gitops fashion even the Jenkins config files will reside in the monorepo. Let's start by creating a Jenkins docker file that will create our docker image.
$mkdir kubernetes
$cd kubernetes
$editor Dockerfile
from jenkins/jenkins:jdk11
#blue ocean
RUN /usr/local/bin/install-plugins.sh blueocean
#git
RUN /usr/local/bin/install-plugins.sh git
# install Maven
USER root
RUN apt-get update && apt-get install -y maven curl apt-transport-https ca-certificates gnupg2 unzip xvfb libxi6 libgconf-2-4
RUN curl -sL https://deb.nodesource.com/setup_12.x | bash -
RUN apt-get install -y build-essential nodejs
RUN curl -fsSL https://download.docker.com/linux/debian/gpg | apt-key add -
RUN echo "deb [arch=amd64] https://download.docker.com/linux/debian stretch stable" >> /etc/apt/sources.list
RUN curl -s https://packages.cloud.google.com/apt/doc/apt-key.gpg | apt-key add -
RUN echo "deb https://apt.kubernetes.io/ kubernetes-xenial main" | tee -a /etc/apt/sources.list.d/kubernetes.list
RUN apt-get update
RUN apt-get install -y docker-ce kubectl
EXPOSE 80
In order for docker to create the docker image in the correct docker repository lets setup docker environment variables with the help of minikube.
$eval $(minikube docker-env)
Now we can build the docker image using the docker file
$docker build -t jenkinsme .
After a while the docker image is ready and uploaded to the minikube docker repository. Now we can tell kubernetes that we want a running pod through creating a file jenkins.yml in the kubernetes directory.
apiVersion: apps/v1
kind: Deployment
metadata:
    name: jenkins
spec:
    replicas: 1
    selector:
    matchLabels:
        app: jenkins
    strategy:
    type: Recreate
    template:
    metadata:
        labels:
        app: jenkins
        version: v1
    spec:
        serviceAccountName: default
        containers:
        - name: jenkins
            image: jenkinsme
            imagePullPolicy: Never
            env:
            - name: JAVA_OPTS
                value: -Djenkins.install.runSetupWizard=false
            - name: JENKINS_MASTER_POD_IP
                valueFrom:
                fieldRef:
                    fieldPath: status.podIP
            - name: JENKINS_OPTS
                value: --httpPort=80
            ports:
            - name: http-port
                containerPort: 80
            volumeMounts:
            - name: jenkins-home
                mountPath: /var/jenkins_home
            - name: docker-sock
                mountPath: /var/run/docker.sock
        volumes:
        - name: docker-sock
            hostPath:
            path: /var/run/docker.sock
        - name: jenkins-home
            emptyDir: {}
With the jenkins.yml created we can tell kubernetes to start a jenkins pod for us
$kubectl apply -f jenkins.yml
After some time you should see everything up and running
$ kubectl get pods
NAME                           READY   STATUS    RESTARTS   AGE
pod/jenkins-6654545fbd-44pfh   1/1     Running   0          5s
Now we need a way to access the pod, we are going to use a service with a NodePort for this purpose.
$kubectl expose deployment jenkins --type=NodePort --name=jenkins-service
Now that the NodePort is created we can ask minikube to give us an URL
$minikube service --url jenkins-service

http://192.168.49.2:31102
Point your browser to the URL indicated
In order to be able to add new kubernetes config files we create kustomization.yml that applies yml files that we name. Initially we only have the jenkins.yml in here.
resources:
- jenkins.yml
Now lets create our first pipeline that applies any k8s changes we might need.
pipeline {
    agent any
    stages {
        stage('CD') {
            parallel {
                stage('prod k8s') {
                    when {
                        changeset "kubernetes/**"
                    }
                    steps {
                        sh 'kubectl apply -k kubernetes/'
                    }
                }
            }
        }
    }
}
Excellent, now that we have Jenkins up and running lets save progress.
$git add Jenkinsfile kubernetes
$git commit -m “added jenkins config for k8s”
Next step is to set up the Jenkins security since this is needed for Blue ocean
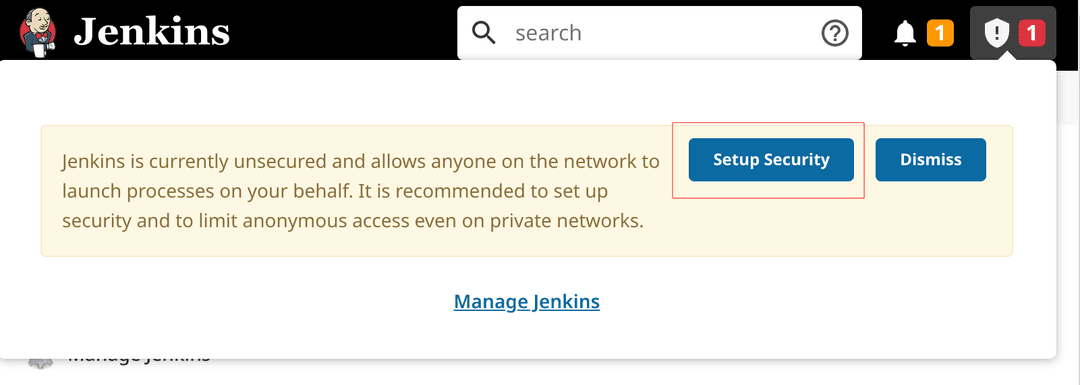
Click Security Realm, Jenkins’ own user database, save Username: admin Password: youchoose Full name: your name E-mail address: your email Push Create First Admin User
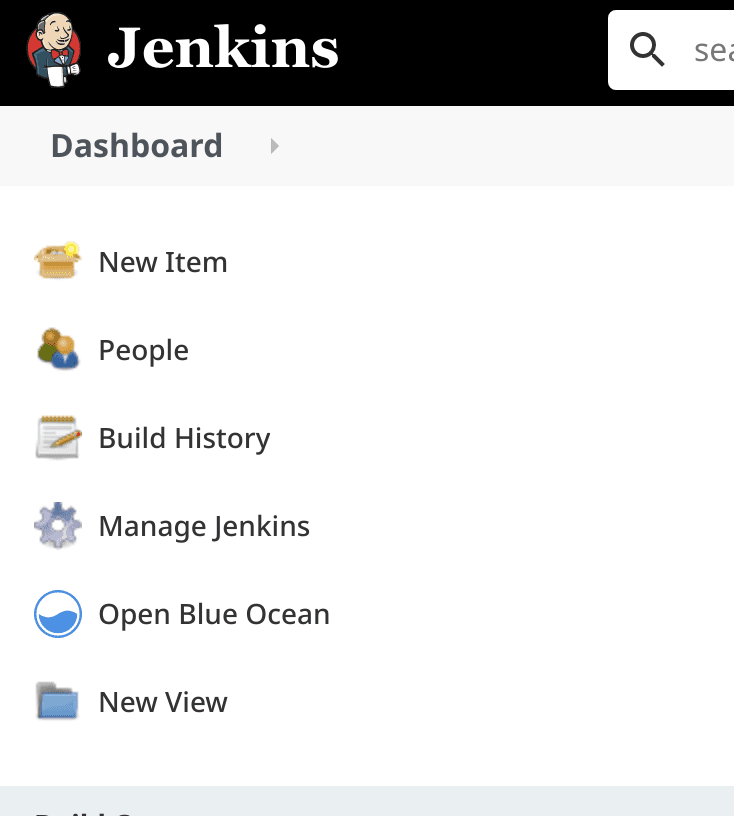
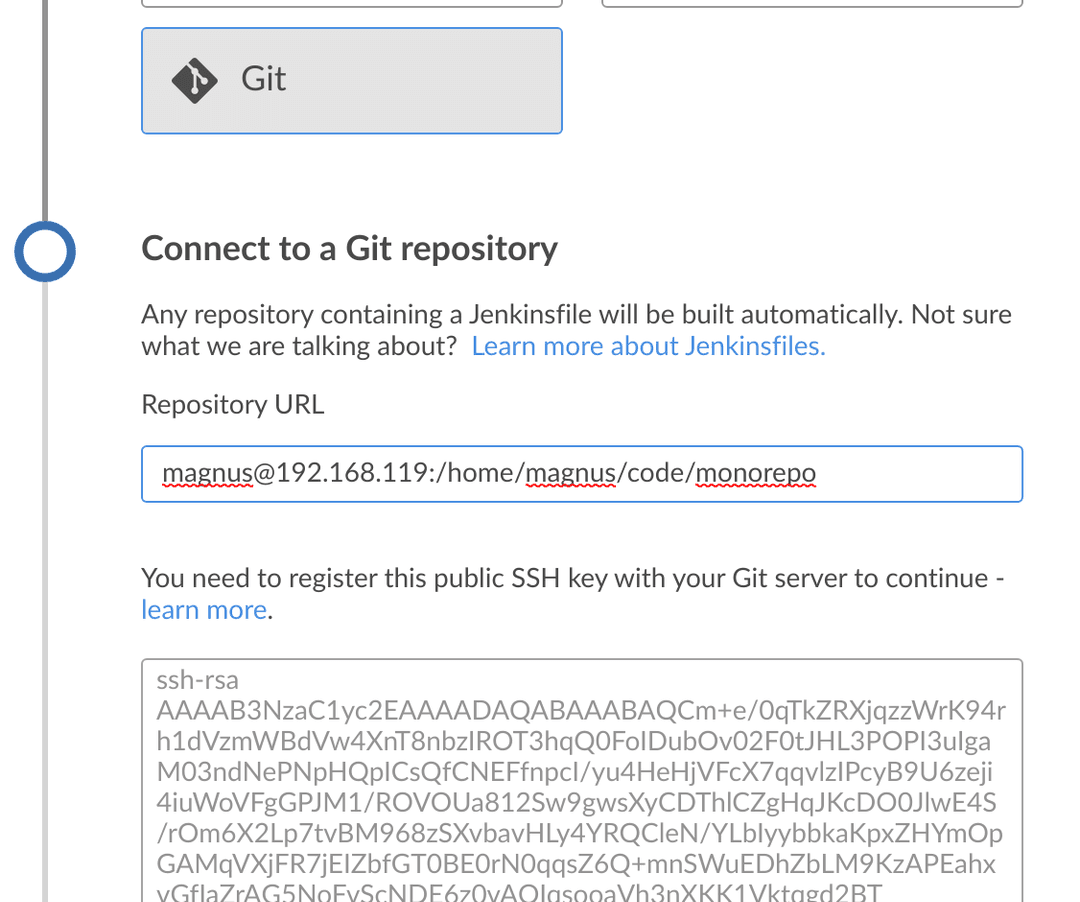
Click Open Blue Ocean, Create a new Pipeline. Here you can connect to a git repository in github, bitbucket or your own server via ssh. In this tutorial we will connect via ssh to the minikube host. Find out your host ip number and enter ip number and path to the repository. Enter this in the repository URL. Add the key to your home ~/.ssh/authorized_keys and push create pipeline.
Now the pipeline runs and once it is completed Jenkins will show the pipeline. It's not that interesting since it will skip all steps due to missing (Jenkins) history. Let's fix that by adding a new java project in the monolithic repository. The spring java project provides one easy way to setup such an helloworld project.
mkdir helloworld
cd helloworld
curl https://start.spring.io/starter.zip \
    -d dependencies=web \
    -d name=helloworld \
    -d artifactId=helloworld \
    -o helloworld.zip
unzip helloworld.zip
rm helloworld.zip
In order for the java program to run in kubernetes we need to containerize it. Here we are writing a Dockerfile in the helloworld folder for this task.
FROM openjdk:11
EXPOSE 8080
ADD ./target/*.jar app.jar
ENTRYPOINT ["java","-Djava.security.egd=file:/dev/./urandom","-jar","/app.jar"]
The next step is to add the new project to the monorepo CD.
pipeline {
  agent any
  stages {
    stage('build') {
      when {
        changeset "helloworld/**"
      }
      steps {
        dir("${env.WORKSPACE}/helloworld/"){
          sh './gradlew build'
          sh 'docker build -t helloworld .'
        }
      }
    }
    stage('CD') {
        when {
          changeset "helloworld/**"
        }
        steps {
          sh 'kubectl rollout restart deploy helloworld'
        }
    }

    stage('k8s update') {
      when {
        changeset "kubernetes/**"
      }
      steps {
        sh 'kubectl apply -k kubernetes/'
      }
    }
  }
}
Then we need to tell kubernets how to run the dockerimage trough a file kubernetes/helloworld.yml
apiVersion: apps/v1
kind: Deployment
metadata:
  name: helloworld
spec:
  replicas: 1
  selector:
    matchLabels:
      app: helloworld
  template:
    metadata:
      labels:
        app: helloworld
        version: v1
    spec:
      containers:
      - name: helloworld
        image: helloworld
        imagePullPolicy: Never
        ports:
        - containerPort: 80
        resources:
          limits:
            memory: 450Mi
We also need to give jenkins service account the access it needs to be able to update any k8s config we commit in the monorepo. In this case the adding of a new service.
apiVersion: rbac.authorization.k8s.io/v1
kind: Role
metadata:
  name: pod-deployer
rules:
- apiGroups: ["extensions", "apps"] # "" indicates the core API group
  resources: ["pods","deployments"]
  verbs: ["get", "list", "watch", "create", "update", "patch", "delete"]
---
apiVersion: rbac.authorization.k8s.io/v1
kind: RoleBinding
metadata:
  name: deploy-pods
subjects:
- kind: User
  name: system:serviceaccount:jenkins:default
  apiGroup: rbac.authorization.k8s.io
roleRef:
  kind: Role
  name: pod-deployer
  apiGroup: rbac.authorization.k8s.io
Since jenkins cannot in the initial stage give itself access rights we'll have to do this manually in the first step.
kubectl apply -f kubernetes/rbac.yml
Now we add the new files to the kustomization.yml
resources:
- jenkins.yml
- helloworld.yml
- rbac.yml
And finish by letting git integrate the changes
git commit -am "added helloworld java project"
git push
Then go into Jenkins and push Branches > play and the pipeline will start using the new code. You can also configure the pipeline to scan the repository for changes and start automatically on changes. After a while you will see that the pipeline has executed and the helloworld pod is running in kubernetes.

$ kubectl get pods
NAME                          READY   STATUS    RESTARTS   AGE
helloworld-7bf95cccfc-7r2pd   1/1     Running   0          2m57s
jenkins-fb4cc7d59-ngs64       1/1     Running   0          18m
Congratulations, you now have the skill to set up jenkins as a CI/CD pipeline in kubernetes. In such a way that Jenkins can update the cluster it is running on and can handle the pipeline for a whole monorepo.